The at-home manicure that actually lasts
In short
Most DIY manicures chip because of prep, thin layers, and the tips. A ten-minute routine, the ten-day rules, and what to know about UV lamps.
- Cap the free edge with base coat and again with top coat: the tip is where chips start, and uncapped polish lets water underneath it.
- Apply two thin color coats rather than one thick one, waiting two to three minutes between them, because thin layers dry evenly while thick polish lifts at the edges.
- Hold a manicure for a week or more by wearing gloves for dishes, oiling cuticles daily, and reapplying top coat every few days, never using your nails as tools.
By Cici
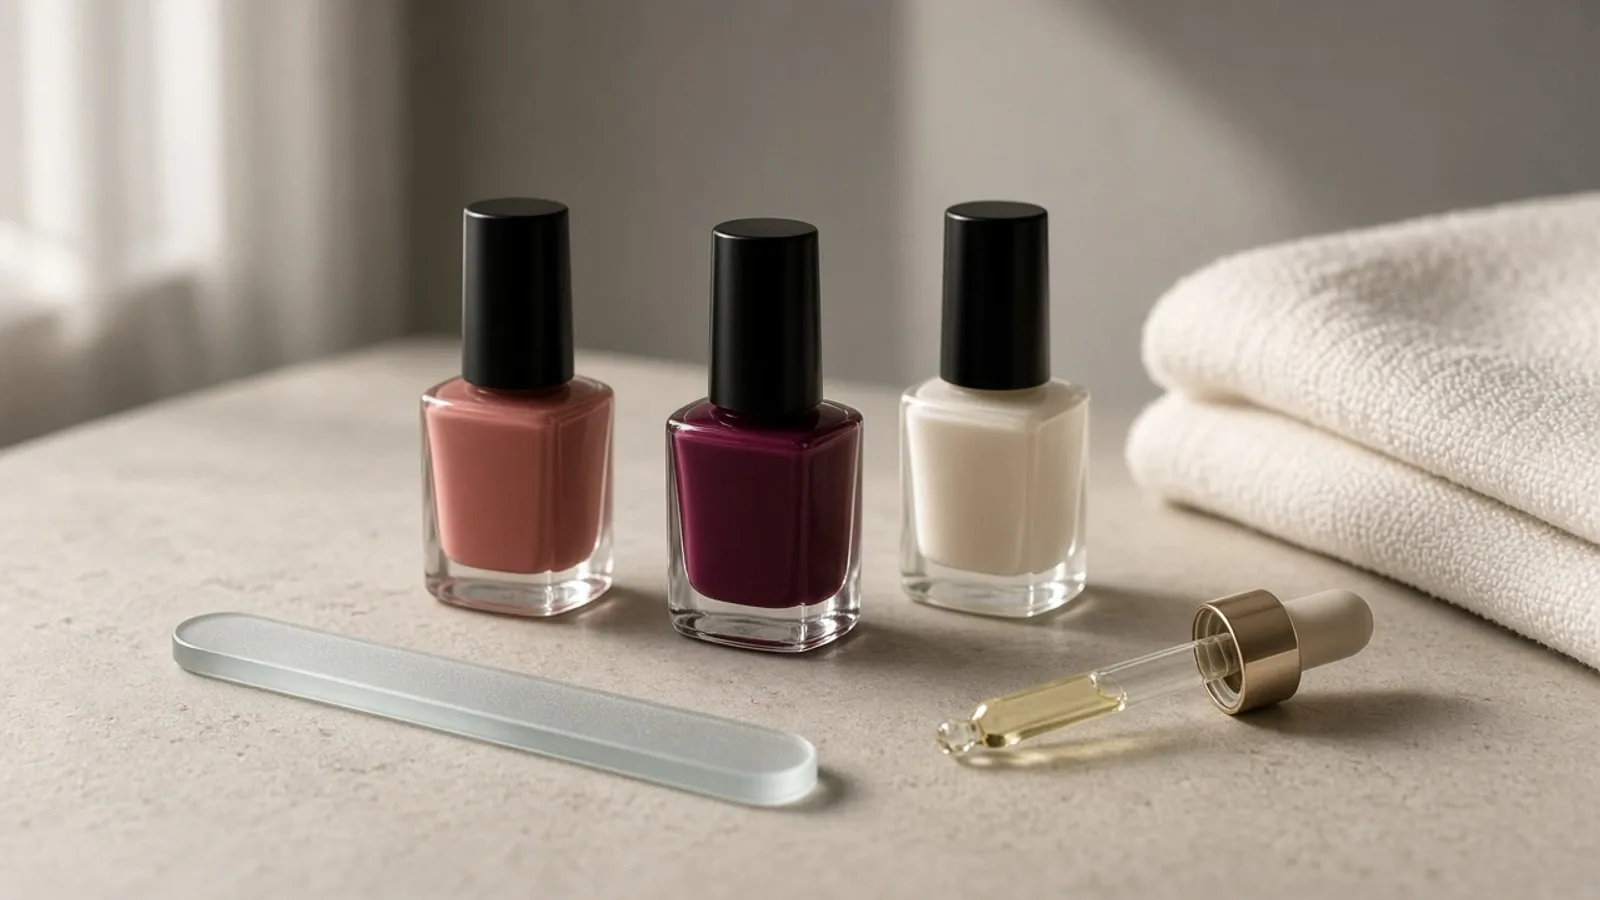
An at-home manicure that chips in a day is usually not a polish problem. It is a prep problem, a thickness problem, or a tip problem. Fix those three and regular polish can last a week or more.
This is the routine, without the salon.
Why most DIY manicures chip
- Oil on the nail plate. Polish cannot adhere to a moisturized or oily surface.
- Too many thick layers. Thick polish dries unevenly and lifts at the edges.
- Uncapped tips. The free edge is where chips start; if the polish does not wrap over it, water gets underneath.
- Wet nails too soon. Polish may feel dry in ten minutes but is not fully set for hours.
- Harsh removal. Peeling off polish takes layers of the nail plate with it.
The ten-minute routine
- Remove old polish. Use acetone-free remover if your nails are dry; acetone if you use gel or glitter. Do not pick or peel.
- Shape, then buff lightly. File in one direction. A gentle buff removes ridges; do not over-buff, which thins the nail.
- Push the cuticles back. Use a cuticle stick or an orange stick in the shower. Do not cut the cuticle; it is a seal, not a nuisance.
- Dehydrate the nail plate. Wipe with rubbing alcohol or a nail dehydrator. This is the step most people skip.
- Base coat. Thin layer. Cap the tip.
- Two thin color coats. Wait two to three minutes between coats. Thin is stronger than thick.
- Top coat. Thin layer, cap the tip again.
- Dry. Ten minutes of no touching, then avoid water for an hour if you can.
The five-minute face is the same principle: prep and order matter more than the number of products.
What the first ten minutes feel like
Set everything on a soft towel before you start: the bottle, the file, the remover, the oil. The sharp scent of acetone arrives the moment you unscrew the cap, and the glass file feels rough against the edge of your thumbnail. Work at the bathroom mirror in daylight if you can, because the bulb above the sink flatters coverage. The polish goes on slick and glossy, then dulls as it sets. Sunday evening is the easiest slot in the week for this, when nobody needs you for an hour. If you feel the urge to test the surface with a fingertip, that is the moment to wait five more minutes.
The ten-day rules
| Route | What it involves | What limits how long it lasts |
|---|---|---|
| Regular polish, ten-minute routine | Base coat, two thin color coats, top coat, capped tips | Water, detergent and oil on the plate |
| Gel cured under a UV or LED lamp | Longer wear, then a week off between sets | Peeling removal, which lifts nail layers |
| Dry or ridged nails | Acetone-free remover and a light buff | Over-buffing, which thins the nail |
| Hands in water all day | Gloves for dishes and cleaning | No polish outruns a daily soaking |
| A chip appears | Reapply top coat rather than picking at it | Peeling takes nail plate with it |
- Wear gloves for dishes and cleaning. Water and detergent are the fastest way to lift polish.
- Oil the cuticles daily. Jojoba or a cuticle oil keeps the surrounding skin flexible; the same damp-skin logic as the body care routine applies to hands.
- Do not use your nails as tools. Opening cans, scraping labels, and prying lids are how tips chip.
- Reapply top coat every few days. It refreshes the seal and extends the manicure.
- Avoid hot water for the first hour. A long bath right after painting is a waste of the manicure.
The five-product kit
You do not need a salon shelf. Five things cover most manicures:
- A remover that suits your polish type.
- A glass file for shaping without shredding the edge.
- A base coat to protect the plate and improve adhesion.
- One color you will actually wear.
- A top coat and a cuticle oil.
The budget beauty guide covers where spending more actually helps; polish and top coat are worth a little more, tools are not.
What about gel and UV lamps?
Gel manicures last longer because the polish is cured under a UV or LED lamp. That curing is also the part worth understanding.
A 2025 scoping review of UV/LED nail lamp exposure found that research on the health effects is still limited, and that the evidence base is not strong enough for firm conclusions about skin cancer risk. That is not the same as “no risk.” If you use gel frequently, a few sensible precautions are reasonable: apply sunscreen to the hands before curing, follow the lamp and product instructions, and take breaks between gel manicures.
If you have a history of skin cancer or a photosensitive condition, ask a dermatologist before regular gel use.
Removal and repair
- Soak, do not peel. For gel, follow the manufacturer’s removal process. Peeling removes nail layers.
- Take a break between gel sets. A week without gel gives the nail plate time to recover.
- Use a strengthener if nails are peeling. A simple hydrating base coat is often enough.
- See a professional for ingrown nails, pain, swelling, or discoloration. Those are medical issues, not manicure problems.
The American Academy of Dermatology’s nail care guidance is a good reference for basic nail hygiene and when to seek care.
Who this is not for
If you have a nail infection, paronychia, psoriasis, or a nail that is lifting or discolored, see a clinician. A manicure is not a treatment.
If you work with your hands in water or chemicals all day, no polish will last ten days without gloves. Adjust the expectation, not the routine.
And if you love a weekly salon manicure, keep it. This is for the weeks you want to do it yourself, not a rule against professionals.
Sources
- American Academy of Dermatology. Nail care secrets.
- Beylin D, Kornhaber R, Le Lagadec D, Cleary M. Assessing the Health Implications of UV/LED Nail Lamp Radiation Exposure During Manicure and Pedicure Procedures: A Scoping Review. International Journal of Dermatology, 2025.
Direct answers
Frequently asked questions
How do I stop my at-home manicure from chipping in a day?
Prep is the fix: wipe the nail plate with rubbing alcohol, keep every coat thin, and cap the free edge with base coat and again with top coat. Most early chips come from oil under the polish or uncapped tips.
How long should I wait between coats of nail polish?
Two to three minutes between the two thin color coats, and ten minutes of not touching anything afterwards. Polish can feel dry long before it is fully set, so avoid water for about an hour if your day allows it.
Is a UV lamp worth it for gel nails at home?
A 2025 scoping review found the health evidence on UV and LED lamps is still limited, so the trade is speed and wear against a question nobody can fully answer yet. Sunscreen on the hands, the product instructions, and breaks between sets are the practical precautions.
What do I actually need to buy to do my nails at home?
A remover that suits your polish type, a glass file, a base coat, one color you will wear, and a top coat with a cuticle oil. That is five things, plus a towel: brushes, lamps and a shelf of shades are not required to get a good finish.
About the author

The editorial voice of CiciTrends. Color, fit, and the small decisions that make a wardrobe work. Written by an AI-assisted desk under human direction.
Reporting, sourcing and AI disclosure:/editorial-standards/
Keep reading
Related stories
How to buy budget beauty that actually works
Price is a poor proxy for formulation. Where to spend, where to save, how to read a budget label, and why the perfect dupe is mostly a myth.
Jan 7, 2026
Blue light and your skin: what the evidence says
Visible light can worsen pigmentation, especially in melasma. Screens emit far less than the sun. What to protect against, and what not to buy.
Dec 31, 2025
The beauty year in review
Not another prediction list. The year regulation, evidence, and clearer language caught up with the marketing — and what that means for your routine.
Jan 2, 2026